QUICK LINKS
My vape has started tasting bad, why?
Have you noticed a funky taste coming from your vape device? Well, that means it’s probably time for a cleaning.
Maintaining and cleaning your vape tank and vape coils is the best way to make sure you are always getting optimal performance. Over time, the residue left behind by your vape juice will build up to the point where it’ll start affecting the performance of your coils and tainting the flavor of your juice.
Disassembling and cleaning vape components can seem daunting, but trust us, millions of people all over America clean their own vape kits. But before we jump into how, let’s look at why.
The main culprits
E-liquid ingredients are the main culprits. Unfortunately, a lot of the base ingredients for your liquid will cause gunk to accumulate quicker. Vegetable Glycerin (VG) is found in all juices in varying amounts. It acts as part of the base of e-juice and is the key component behind dense, immense clouds. However, it’s very thick. Vegetable Glycerin can soon build up on coils and disrupt your vape experience.

Flavorings also affect the residue left on coils, with dark flavorings seeming to be the worst.
The most significant flavoring culprit that gunks up coils is sweeteners, which are often referred to as coil killers. Some e-liquid manufacturers go overboard with sweeteners to accentuate the flavor of their juices. If you love sweet-tasting juice, it might not be long before you have to clean dirty coils and remove the remaining residue.
Naked 100 and Twelve Monkey Origins strike the perfect balance between sweetener and sweetness. These vape juice brands add just enough sweetener to make their e-liquids pop. When you choose these brands, you won’t have to clean your vape coils every few days!
We’ve established that a gunked-up coil can lead to weak flavor, reduced vapor production, and even a vape that tastes burnt. But what are the other reasons why your coils need a proper cleaning?
Mixed juices
You’ve emptied your vape tank, switched the vape juice out for a brand that uses fewer sweeteners, and changed your coil head. That should cover every possible problem, right?
Not exactly. Sometimes, flavoring from your last vape juice can contaminate your new juice. Depending on how long it takes you to use a tank of liquid, it is not uncommon for liquid to ingrain itself in the corners of your tank.
This is especially true for strong flavorings like tobacco, coffee, licorice, or menthol. They leave a stubborn residue that can be difficult to remove.
The solution to e-liquid residue is simple: give your coils and tank a thorough clean. Remember, the more you clean vape coils and tanks, the better your next vape hit will be!
New vape tanks and coils
Sometimes new atomizers or tanks may arrive looking sparkling clean and new but still have a slight odor of machine oil. Lots of manufacturers don’t go the extra mile to really deep clean the device after manufacturing. Unfortunately, this has become even more common in recent years.
Whether you are having issues due to a well-used coil, mixed juices, or a new (but not clean) tank, there are some simple methods to properly clean everything and get the best flavor experience.
How to clean a vape tank
The first step to cleaning your vape tank is to remove the vape coil. Don’t worry about cleaning for now, we’ll cover that later.
Then, you need to drain the tank of any excess liquid. We’ve already mentioned how particularly stubborn residue can impact your vape experience, so you need to be as thorough as possible.
Most vape tanks have several internal components that can be completely disassembled. For a thorough clean, you should always disassemble the tank. Refer to the manufacturer’s guide or website for full details on how to do this. Be careful! Some parts can be dangerous, so always wear protective equipment.
When taking your vape tank apart, pay close attention to all the parts, especially o-rings, and make a note of where everything goes. Place all the components in a small bowl so they don’t go astray. It’s easy to ignore this step, and lots of vapers do. Before long, they find themselves scratching their heads, wondering which piece goes where. Avoid this problem by preparing a small bowl or ‘safe zone’ for your components.
Once that is done, just follow one of the methods below.
Regular rinse
This is probably the easiest and most common method for cleaning your vape tank. It works best if your tank is relatively clean in the first instance.
- Place each part under running water – warm water works best.
- Place them on a paper towel to dry.
- Allow them to air dry until no water or condensation is visible.
If your tank still doesn’t look clean or was considerably messy in the first place, then you might need to take these steps.
- Rinse all the parts.
- Fill a cup or bowl with water and heat it in the microwave for approximately two minutes.
- Remove the bowl/cup from the microwave and place all the pieces in the hot water.
- Leave it until the water has completely cooled down. Remove all the parts individually and rinse as before
- Use a paper towel to dry.
- Let all the parts dry. You can use a blow dryer to speed up the process, but be extremely careful not to overheat and damage any o-rings.
Have you completed all these steps? Great! Put your tank back together and start vaping.
PG rinse
This method is the same as the method above, but you need Propylene Glycol (PG) instead of water.
We recommend this method to people who are concerned about any e-liquid remaining in their tank. PG is an excellent carrier of flavor, so it is good at removing unwanted vape juice flavors from your tank. By letting dirty coils soak in PG, you are setting yourself up for success.
- Fill a cup or bowl with PG, then place all the parts of your tank inside.
- Allow the parts to sit for a couple of hours.
- Remove all of the parts and place them on a paper towel.
- Let the parts drip dry.
Don’t use VG instead of PG. It’s much thicker liquid and will make the whole cleaning process far harder.
Rinse with a cleaning agent
Cleaning agents provide the best clean. Whenever you use a cleaning agent, you need to make sure that you thoroughly rinse the parts and allow them to dry properly.
- Vinegar – Extremely acidic and can be an effective cleaning agent, but you’ll need to rinse thoroughly to prevent any lingering smell.
- Ethanol (grain alcohol) – Another highly effective cleaning substance. Do not confuse this with isopropyl alcohol, which should never be used inside your tank.
- Baking soda – Also an excellent cleaning agent. Baking soda can be used to deep clean tanks and make them sparkle.
- Cheap Vodka – It’s cheap enough to buy, and does an excellent job at cleaning.
There are a few other lesser-known options. We know some vapers have had good results with lemon juice mixed with water. Others have mentioned dish soap, but we’d advise against that as it’s harder to rinse away, and any traces will ruin your juice.
For the best tried and tested cleaning liquids, stick to the options that we’ve outlined above.
Going ultrasonic
If things are looking incredibly filthy and you need to get a real thorough clean going, the best way to achieve it is with an ultrasonic cleaner.
Ultrasonic cleaners are typically used for cleaning precious metals and jewelry but have now become the go-to cleaning tool for vapers because of how effective they are. You won’t need a specific type for vape gear; any ultrasonic cleaner will do as long as you can run over 10-minute cycles with it. The ultrasonic vibrations will destroy even the most stubborn residue.
Ultrasonic cleaners are also incredibly easy to use.
- Open the cleaner and fill it with cold or warm water. You can add another cleaning agent or a touch of dishwashing liquid, but it’s not essential.
- Place your vape tank parts inside, and let it run.
- Remove the parts and give them time to dry.
If you don’t rinse your tank afterward, you might compromise flavor and vapor production.
How to clean your coils
Cleaning coils can be a lot trickier than cleaning your tank, and in some cases, it might just be better to replace them.
If you’d rather clean a vape coil than replace it, you need to be aware of a few facts. The method that you choose depends on the type of coil you have.
- Stock coils – Have a coil and an absorbent wick. They are typically encased in a metal shell and can be difficult to clean.
- Rebuildable atomizer coils – RDAs and RTAs are classed as rebuildable atomizer coils. They are much easier to clean.
Let’s have a closer look at cleaning vape coils.
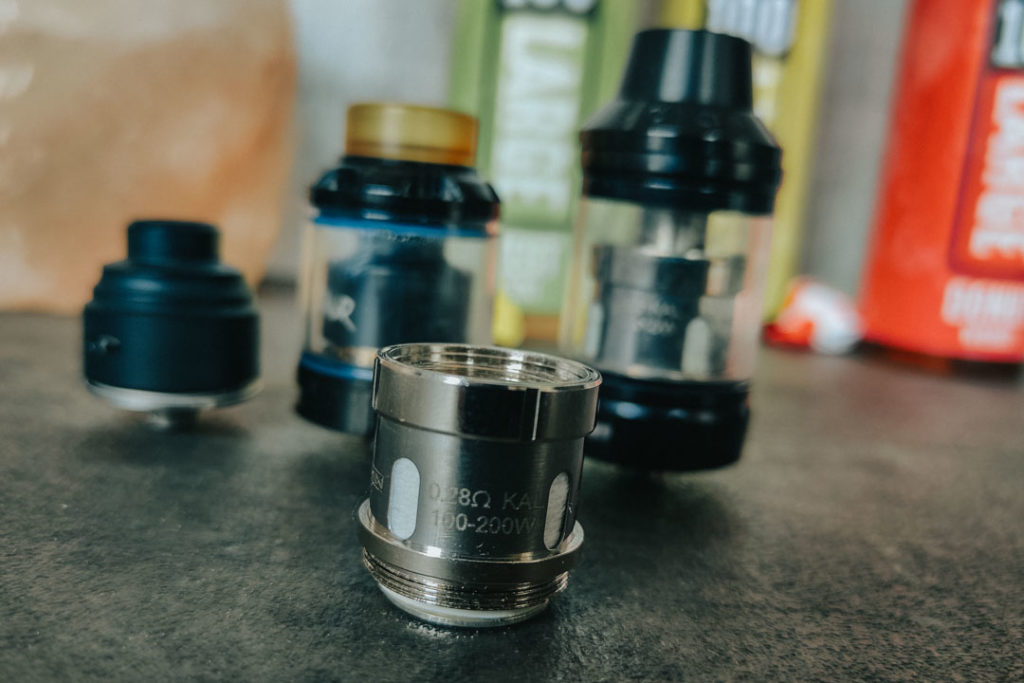
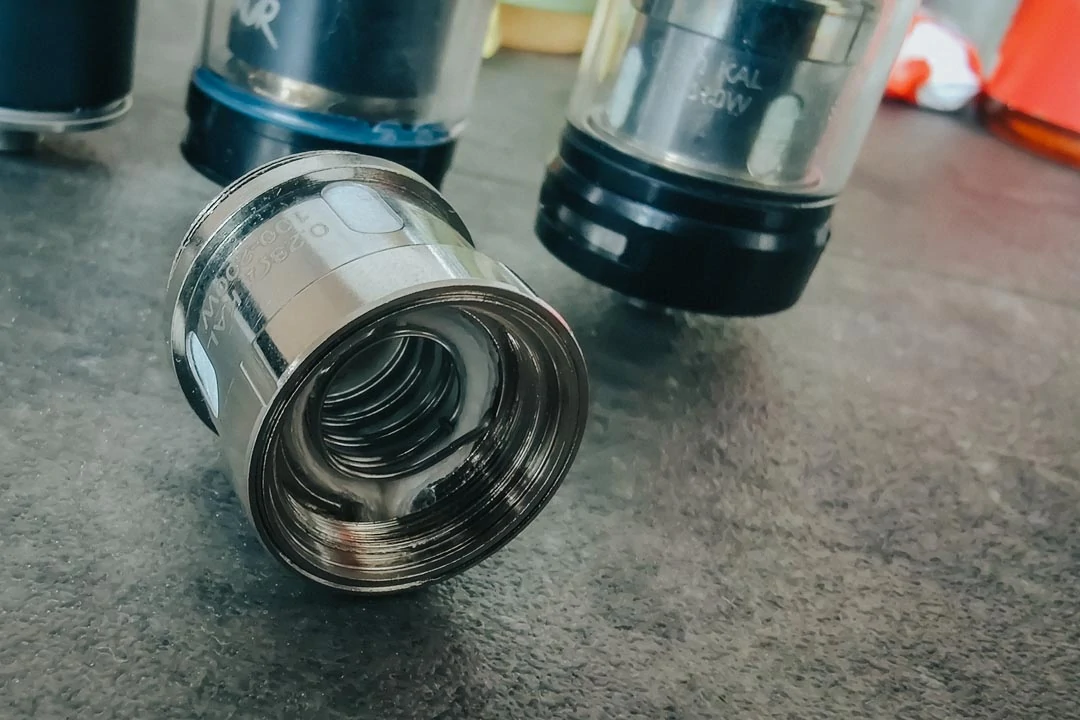
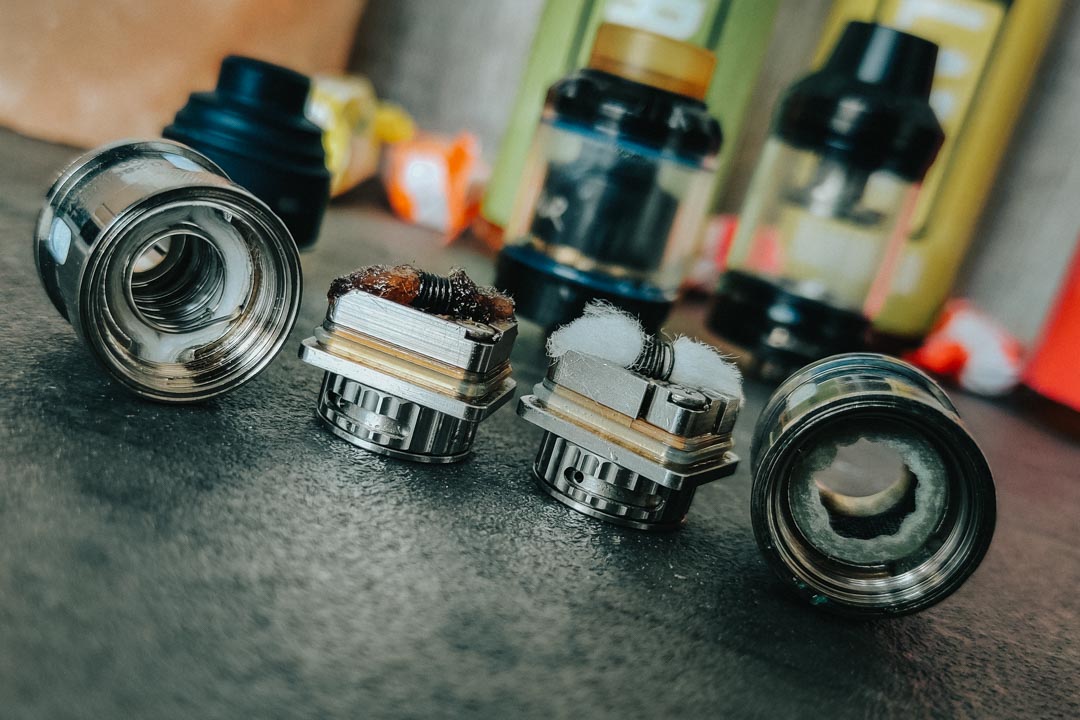
Cleaning stock coils
Replaceable stock coil heads that come with all sub-ohm tanks technically can be cleaned, but not completely. The wick material is encased inside the coil head and wrapped around the coil, so cleaning them out won’t completely revive them, but it might just give you a couple of more days of vaping.
To clean your stock coil heads, follow this method.
- Let your coil soak in ethanol, vinegar, or cheap vodka for a few hours.
- Rinse the coil head under warm water.
- Rinse again, but this time with distilled water.
- Blow air through the coil on one side to force any excess water out of the wicking holes. Repeat several times.
- Set the coil aside until all water has evaporated. Let it air dry in the sun or under a heater.
This cleaning method might just remove some of the worst remaining liquid and residue. The coil head might look brand new, but there will still be build-up around the coil and the wick won’t be entirely fresh. So don’t expect miracles! Even if you follow this method, you may still need to replace the coil head.
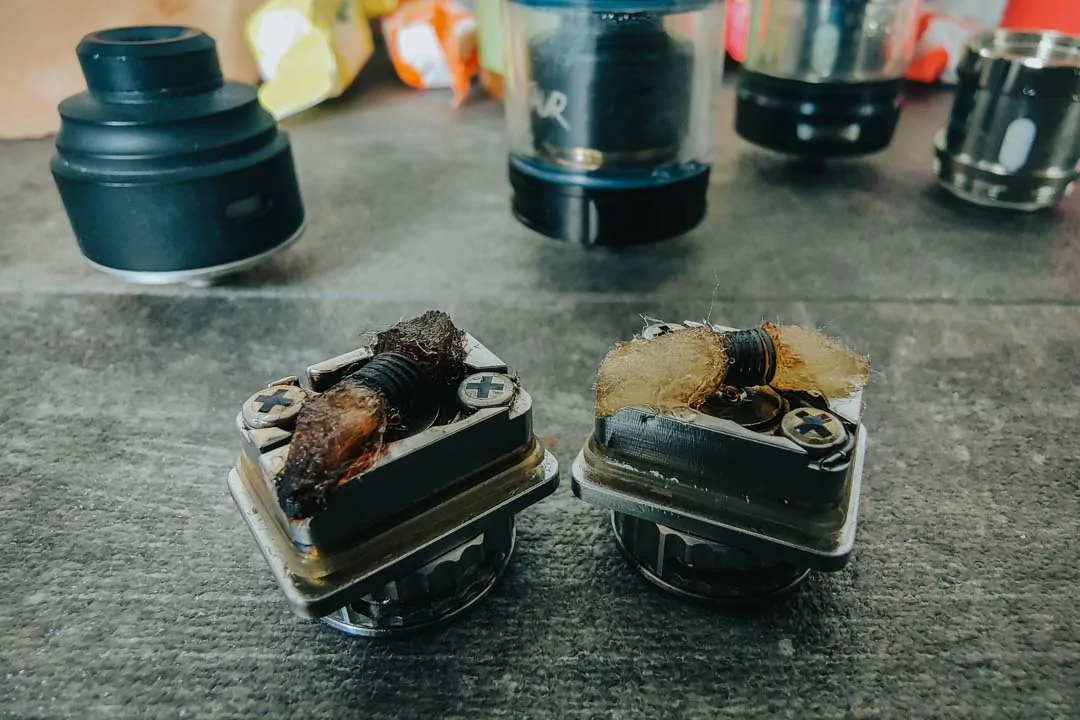
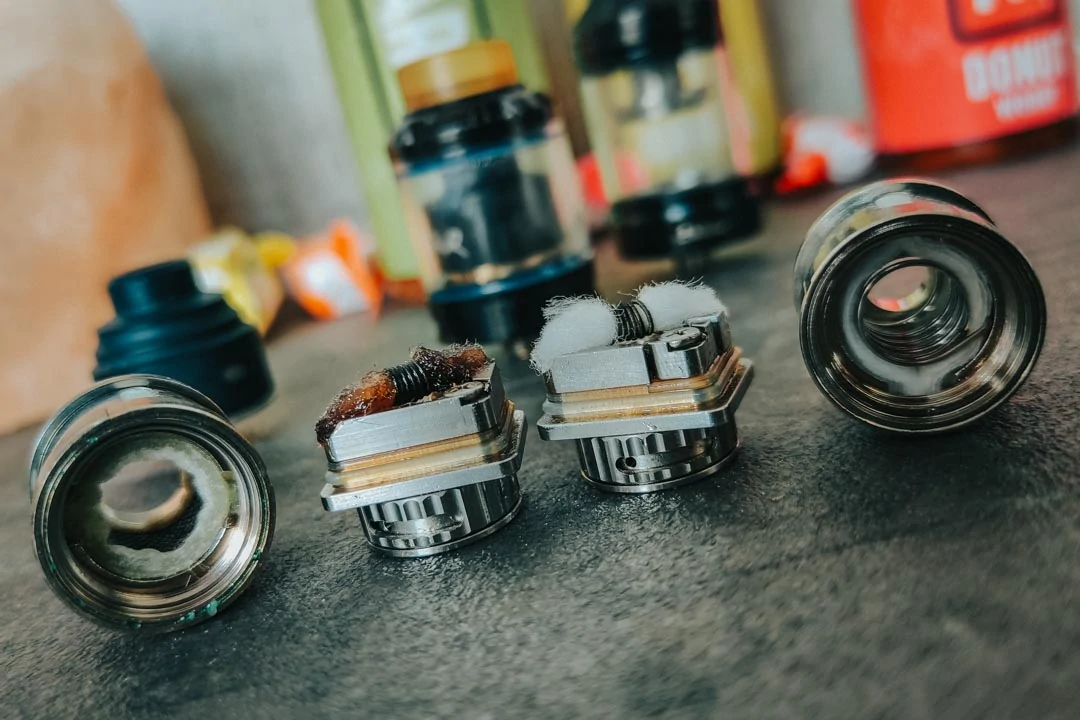
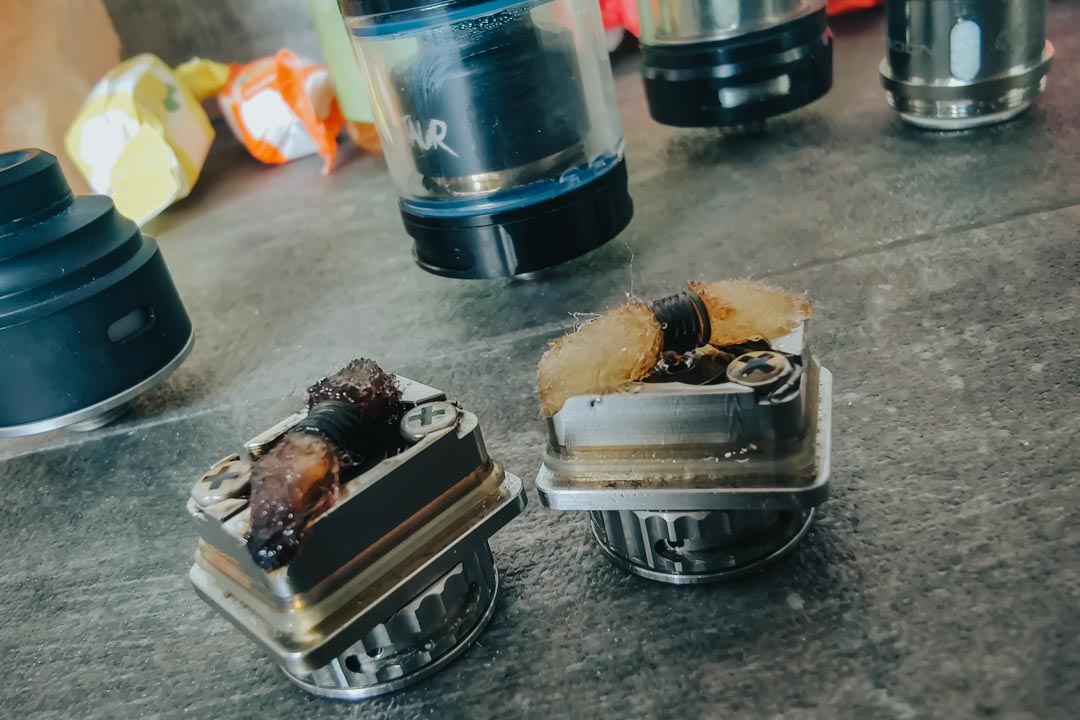
Cleaning rebuildable coils
If you are using rebuildable coils in an RDA or RTA, not only is it easy to clean your coils, but you should do it regularly for proper maintenance and to ensure maximum performance. Without regular cleaning, these coils will not deliver satisfying vape hits.
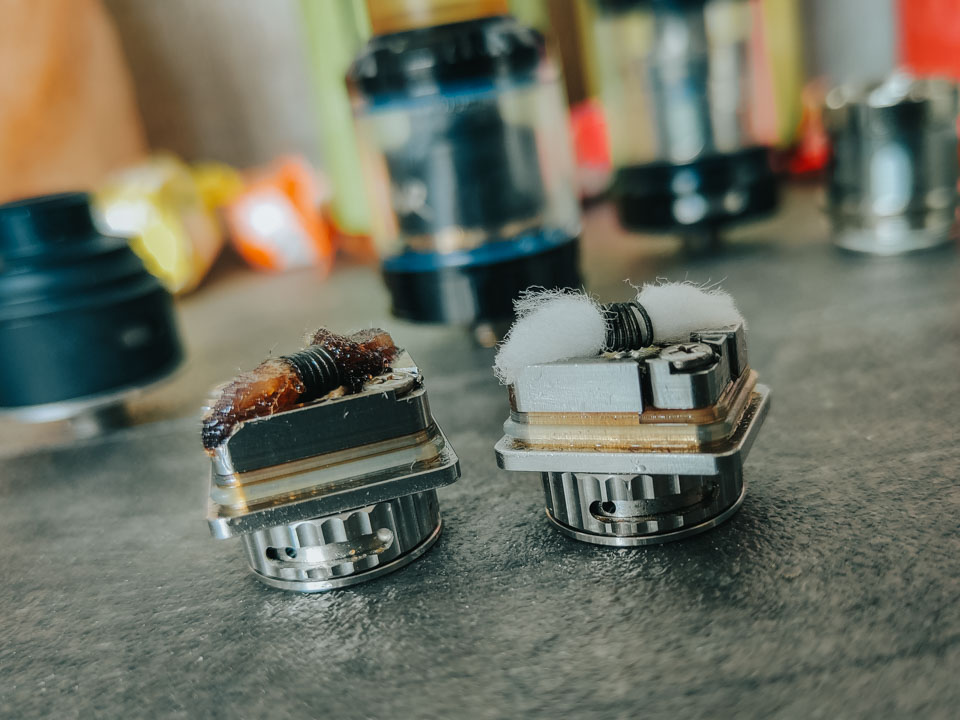
Follow these simple steps to clean your gunked-up coils.
- Remove the wicks from your coil. They’ll need changing, and you won’t want to burn them during this process.
- Once the wicks have been removed, you can perform a light dry burn of the coil – this is where you pulse the fire button a few times on a low wattage to remove the excess liquid and gunk.
- Let it air dry.
If that does the trick, you can re-wick the vape coil and you are good to go. If you’ve done that a few times and feel like it needs another deep clean, you need to follow these steps.
- Remove the wicks from your coil.
- Let your coils dry burn on a low wattage, but don’t let them glow too much.
- Remove the atomizer from your device.
- Place it under warm running water.
- Brush the coil lightly with a coil cleaning tool or toothbrush.
- Rinse the atomizer once again.
- Dry burn once more to remove remaining water droplets.
You can also do the above with distilled water or dishwashing liquid, but we advise against it. If you do use dishwashing liquid to clean your vape tank, make sure you thoroughly clean and dry it.
Cleaning your coils with this method will significantly increase their lifespan. However, if you are still noticing the performance is a little lacking, or the flavor is a little off, then it’s time to replace it with a new one.
How to clean a vape pen
Depending on the setup, cleaning a vape pen can be a little trickier.
If the vape device has a removable tank, then you can follow the usual vape tank cleaning tips. In this case, you also need to care for the battery section of the vape device. Use a soft cloth to wipe it down. Do NOT use water, and be extremely careful around the charge ports and buttons.
If you have an all-in-one (AIO) vape device, cleaning is going to be a lot more complicated. Again, do NOT attempt to wash the whole device with water, as electronics and water do not go well together. The simplest and safest method for cleaning your AIO vape pen is to use a Q-tip (cotton bud).
- Soak your vape device in some PG or distilled water.
- Thoroughly wipe the inside of the tank section. You may need to go over it more than once for the best results.
- Use a dry Q-tip to wipe the inside of the tank one final time.
- Once your vape pen is completely dry, you can start using it again.
This should do the job, but remember, every vape pen is different. If you’re still struggling with flavor production and vape taste, you might have used the wrong method for your vape device. Keep trying new methods until you find one that sticks.
Changing e-liquid
As previously mentioned, mixing e-juices can be another contributing factor to your vape tasting terrible.
There is no problem mixing your juices or even brands of e-liquids, especially if both the e-liquids have similar flavor profiles. Sometimes the resulting mix will taste fine, and the initial juice will eventually flush out, leaving you with just the new flavor.
If the old and new juice have vastly different flavor profiles, things may begin to taste bad. So if you’re switching between very different juices, then it’s worth giving your tank a clean with one of the methods above. If you are using a rebuildable, you might get away with changing the wicks and giving it a quick clean.
Remember, strong-flavored e-liquid makes the cleaning process more complicated. Tobacco, coffee, and menthol liquid will always linger in the tank for a while. For better results, consider flushing out the lingering flavor. We recommend buying an e-liquid base that has no flavoring and puffing on it for at least a couple of minutes. Hopefully, the flavorless base will pick up any residual flavoring and remove it from your coil and tank.
For the best results, start here. Try our tips to make your tank and coils sparkling clean.